
 (903) 437-7049
East Texas Storm Season Roof Preparation: The Pre-Storm Checklist Every Homeowner Needs
East Texas homeowners who deal with roof damage every spring often have something in common: they were reactive rather than proactive. They waited for a storm to reveal a vulnerability that was already visible before the storm hit. Pre-storm preparation does not make your roof invulnerable to hail or wind, but it identifies existing weaknesses before they become active leaks, documents your roof’s pre-storm condition for insurance purposes, and eliminates the debris and drainage problems that turn a manageable storm event into an expensive repair. This checklist covers what to do before storm season arrives, not after.
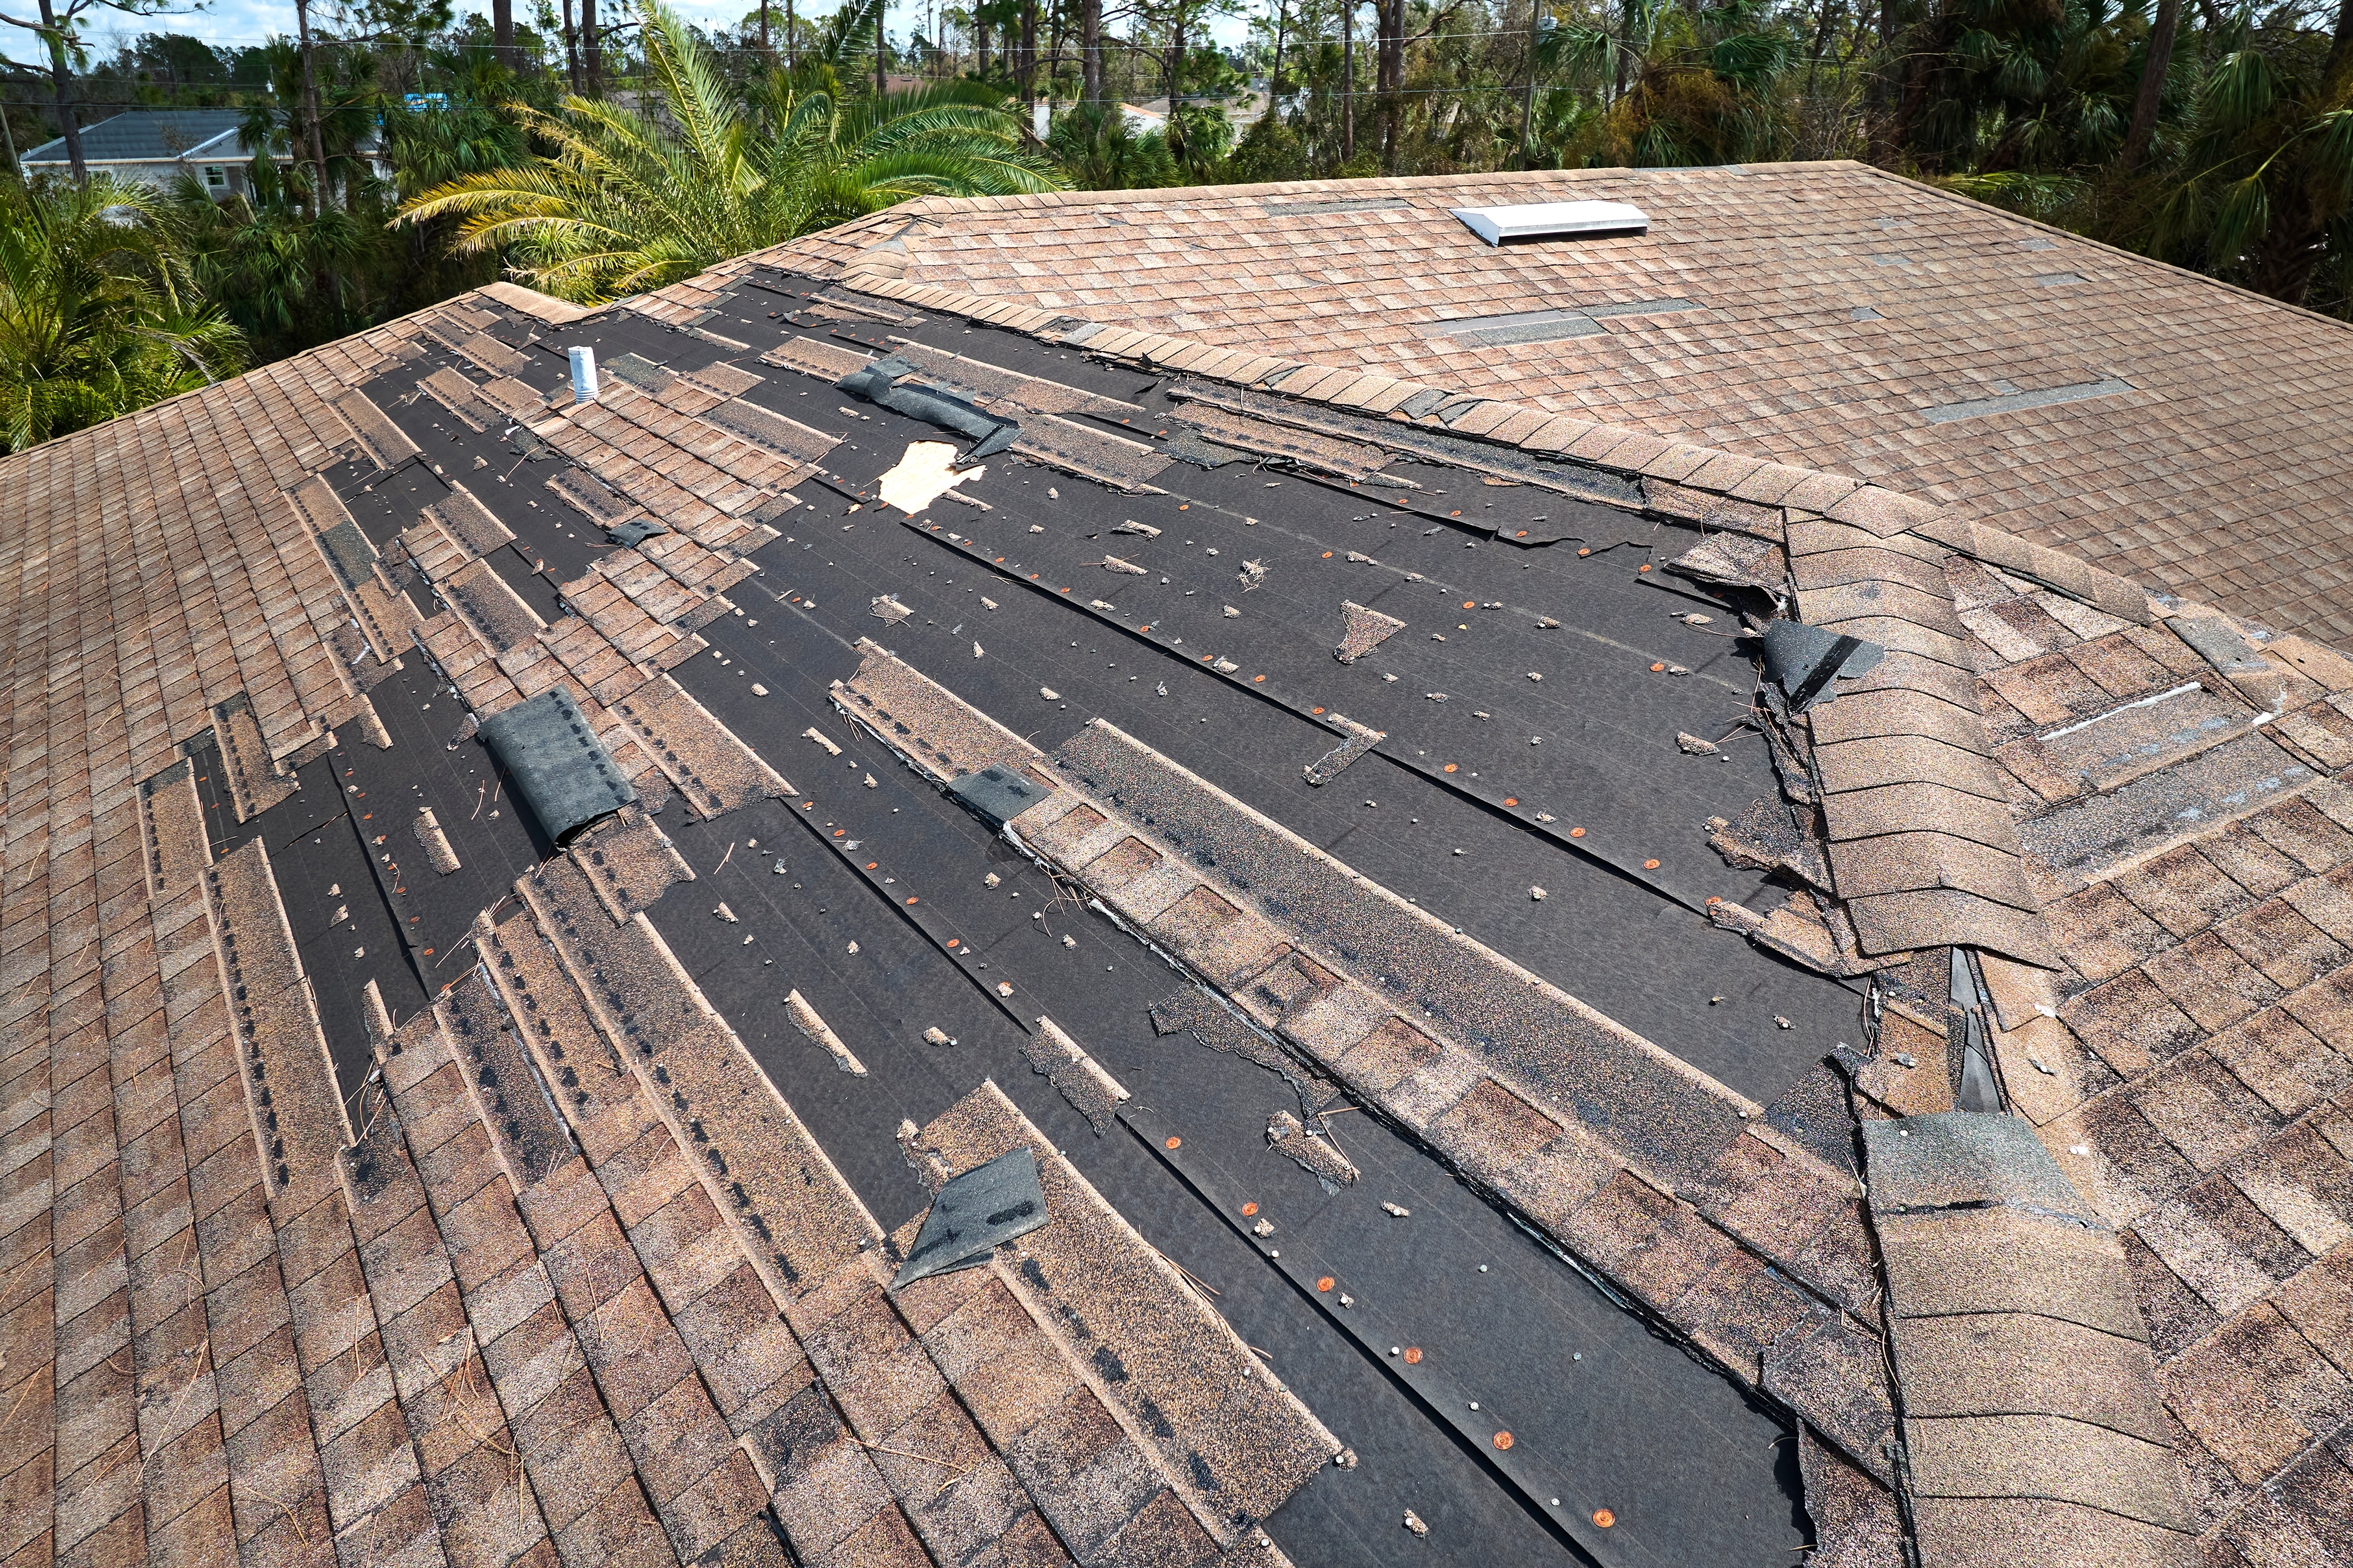
When Is East Texas Storm Season?
East Texas’s severe weather season runs primarily from late February through late May. According to NOAA Storm Prediction Center historical records, the peak probability of significant hail events across Smith, Gregg, Cherokee, Rusk, and Anderson counties falls in the April and May window, with a secondary spike in the fall (October and November) that is less intense but still relevant.
The pre-storm checklist in this guide is best completed in January or February, before the primary storm season window opens. That gives you time to schedule any professional inspection or repair work before roofing contractors are at peak demand from post-storm calls.
According to the Insurance Institute for Business and Home Safety, pre-storm mitigation and maintenance are among the most cost-effective risk reduction measures available to homeowners in severe weather-prone regions. A roof that enters storm season in documented, serviceable condition is both more likely to perform well and more likely to produce a clean insurance claim if damage does occur.
Ground-Level Checklist: What You Can Assess Yourself
Before calling anyone, walk your property and assess these items from the ground. You do not need to access the roof to complete the ground-level portion of this checklist.
1. Look for Missing or Visibly Damaged Shingles
Walk all four sides of your home and look up at each roof face. Missing shingles are visible from the ground. Shingles that have curled edges or are visibly lifting at the corners are also often detectable from street level on lower-pitched roofs.
Note the location of any visible issues. Even if you are scheduling a professional inspection, your ground-level observations help the inspector prioritize where to look first.
2. Check Gutters for Accumulated Granules
After a rain event, check your gutters and the ground at your downspout exits. Significant granule accumulation is a reliable indicator that your shingles are nearing the end of their granule retention capacity. Some granule shedding is normal on older shingles, but heavy granule deposits after a rain event indicate shingles that are approaching failure or have already experienced impact damage.
Also check whether gutters are properly attached, free of obvious debris blockage, and pitched toward the downspout outlet rather than pooling water. A blocked or misaligned gutter is a roof-edge damage risk in every storm.
3. Inspect Visible Flashing from the Ground
Using binoculars if needed, look at the flashing around your chimney base, any skylights, and the points where the roof meets a wall (such as dormers or additions). Visible gaps, rust streaking, lifted edges, or missing sealant on metal flashing components are indicators of vulnerability that need to be addressed before storm season.
4. Check Soffits and Fascia for Signs of Previous Water Damage
Look at the underside of your roof overhang (soffit) and the vertical board at the roof edge (fascia) for water staining, peeling paint, or soft spots. These indicators point to existing drainage problems at the roof edge, often caused by backed-up gutters or inadequate drip edge. Addressing these before a major storm event prevents them from cascading into a larger repair.
5. Trim Overhanging Tree Limbs
Identify any tree limbs hanging within striking distance of the roof surface. In East Texas, mature pine, oak, and pecan trees are common in residential landscapes, and limbs that appear stable under normal conditions can fail under the wind loads that accompany East Texas severe weather systems. Limbs that overhang the roof should be cut back before storm season begins. This is one of the highest-value preventive actions available to East Texas homeowners.
Contact a licensed arborist for limbs that are large, high, or close to utility lines.
Attic-Level Checklist: What to Check Inside
If you have safe attic access, a brief attic inspection before storm season reveals problems that are invisible from outside.
1. Look for Existing Water Staining on Decking or Rafters
Water staining on the underside of the roof deck or on rafter faces indicates that water has entered the roofing system at some point. Fresh staining may indicate an active leak. Old staining indicates a previous infiltration event. Either warrants professional assessment before the next storm season.
2. Check Insulation for Moisture
Insulation that has been wetted by a roof leak loses R-value and can become a long-term moisture problem even after the original leak is repaired. Press the insulation in areas below any staining you observe. Wet or compressed insulation should be replaced.
3. Confirm Soffit Vents Are Clear
Look at the eave areas inside the attic and confirm that soffit vents are not blocked by insulation. Blocked soffit vents reduce attic ventilation effectiveness, which elevates attic temperatures and accelerates shingle aging. Installing insulation baffles to restore the airflow channel is a simple correction that can be done without professional help.
4. Look for Daylight Through the Deck
In a darkened attic during daylight hours, any points of light visible through the roof deck indicate actual gaps or holes that are active water entry points. These require immediate repair.
Professional Inspection: What to Schedule Before Storm Season
A professional roof inspection by a certified roofing contractor covers what you cannot safely or effectively assess yourself.
What a Pre-Storm Professional Inspection Covers
● Complete shingle field assessment with close examination for granule loss patterns, edge lifting, and any impact damage from prior storm events that has not yet been addressed
● Flashing integrity at all transition points, penetrations, and edges
● Ridge cap and ridge vent condition including seal integrity and panel alignment
● Pipe boot condition around all plumbing penetrations
● Ventilation adequacy calculated against the attic footprint and IRC R806 requirements
● Gutter condition and attachment including pitch confirmation and downspout discharge location
● Written report with photographs documenting the pre-storm condition of every roof component
Why the Pre-Storm Inspection Report Matters for Insurance
A written inspection report dated before a storm event establishes the pre-storm baseline condition of your roof. This documentation directly addresses one of the most common insurance claim challenges: distinguishing storm-related damage from pre-existing age-related deterioration.
Adjusters assessing a storm damage claim after the fact must evaluate whether damage was caused by the storm or was already present. A clean inspection report dated within the previous 12 months, showing the roof was in serviceable condition before the storm, supports the claim that specific damage was caused by the storm event rather than accumulated aging.
The Texas Department of Insurance recommends that homeowners maintain records of home maintenance and improvements. A professional inspection report is exactly this kind of documented maintenance record.
How Often to Schedule Pre-Storm Inspections
For East Texas properties with roofs less than 10 years old and no recent storm events: every two years is a reasonable baseline.
For roofs 10 to 20 years old: annually, and specifically before each storm season.
For roofs over 20 years old: before every storm season without exception, with a realistic conversation about replacement timeline.
After any storm event that produced hail larger than a quarter or sustained winds above 60 miles per hour: immediately, regardless of when the last inspection occurred.
Maintenance Tasks to Complete Before Storm Season
Beyond inspection, several specific maintenance tasks reduce vulnerability when completed before the first major storm:
Clear and re-hang gutters if needed. Remove accumulated debris, confirm pitch, and re-secure any sections that have pulled away from the fascia. Water that cannot drain freely from the roof creates cascading damage at the roof edge.
Seal any open flashing joints identified in the inspection. Small gaps in flashing sealant at chimney bases, step flashing joints, and around pipe boots are preventable failure points. Roofing-grade sealant applied to an open joint before storm season costs a fraction of the water damage repair it prevents.
Replace any missing or badly damaged shingles. A small shingle repair completed in February is straightforward and affordable. The same repair needed after a storm, when contractors are booking two to four weeks out and the gap is allowing water infiltration with every rain, is a different situation.
Cut back overhanging limbs. Already mentioned in the ground-level checklist but worth repeating as an action item, not just an observation. A licensed arborist can assess which limbs represent genuine risk versus those that are unlikely to fail.
What Not to Do: Pre-Storm Mistakes That Cost Money
Do not go on the roof yourself unless you have proper fall protection equipment and experience. Each year, homeowner falls from roofs represent a significant source of home repair-related injuries. Your ground-level and attic assessments provide valuable information without requiring roof access.
Do not defer visible damage indefinitely because it has not caused a leak yet. Missing shingles, open flashing joints, and damaged ridge caps are active vulnerabilities waiting for the right storm. They do not resolve themselves.
Do not wait until May to schedule an inspection. By April, professional roofing contractors in East Texas are heavily booked with repair work from the spring’s first storms. Scheduling before late February ensures you get the inspection date that works for you rather than competing with reactive post-storm demand.
Call Redline for Your Pre-Storm Inspection
Redline Roofing and Construction provides professional written roof inspections and roof maintenance services throughout East Texas. Our inspections include written reports with photographs documenting every roof component. We cover Smith, Gregg, Cherokee, Rusk, Anderson, Wood, and all surrounding East Texas counties.
We are BBB A+ accredited, fully insured with general liability and workers compensation coverage, and have been maintaining and repairing East Texas roofs since 2004.
Call 903-437-7049 before storm season arrives. Open seven days a week from 8AM to 7PM.
Need a roofer in East Texas?
Redline Roofing provides free inspections seven days a week across Tyler, Longview, Kilgore, and 35+ surrounding communities. No obligation, no pressure.